 English
 русский
 bahasa Indonesia
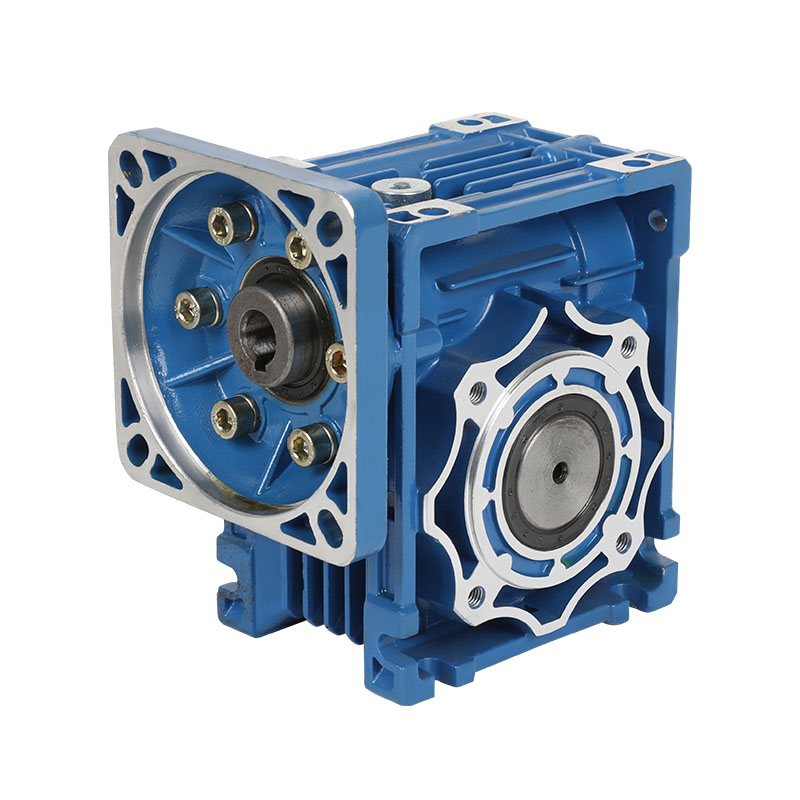
The installation and commissioning of RV worm gear reducers are important steps to ensure their normal operation and extend their service life. The following are the key points for the installation and commissioning of RV worm gear reducers:
Installation location and environmental requirements
Choose an appropriate location: RV worm gear reducers should be installed on a stable and solid foundation to avoid vibration and unstable working environment. The installation ground should be flat, and appropriate ventilation space should be maintained around the reducer.
Environmental conditions: During installation, factors such as temperature, humidity and dust in the working environment should be considered, and the reducer should be avoided in high temperature, high humidity or corrosive environments. If the environmental conditions are relatively harsh, a reducer with protective functions should be selected and additional protective measures should be taken.
Connection between reducer and motor
Ensure alignment: The connection between the reducer and the motor must be aligned to avoid wear, overheating or noise of the transmission parts due to eccentricity. Appropriate tools and equipment are required during installation to ensure that the reducer and the motor are aligned.
Connection method: Usually a coupling or direct connection is used. Make sure the coupling or connector is firm to avoid loosening or falling off.
Check the motor direction: Confirm that the direction of the motor matches the input end of the reducer. You can check whether the direction of rotation is correct by manually rotating the drive shaft of the motor.
Fixing and tightening
Correctly install the bracket: When installing the RV worm gear reducer, make sure the bracket or mounting base is firmly fixed. The appropriate bracket should be selected according to the model and load requirements of the reducer to avoid vibration or instability during operation.
Tighten the screws and nuts: All screws and nuts that fix the reducer must be tightened to ensure that the reducer does not loosen during operation.
Lubrication and oil level check
Selection of lubricant: According to the instruction manual of the reducer, select the appropriate lubricant. Different models of RV worm gear reducers have different requirements for lubricants. Common lubricants include gear oil and synthetic lubricants.
Oil level check: After installation, check the oil level of the reducer to ensure that the lubricant is sufficient to avoid wear and overheating caused by lack of oil. The oil level should meet the manufacturer's recommended standards.
Lubricant replacement: Newly installed reducers usually need to replace the lubricant after running for a period of time to ensure the cleanliness of the lubrication system.
Initial commissioning and no-load operation
No-load test run: After installation, perform no-load test run to ensure that the reducer runs smoothly and without abnormal noise. At this time, pay attention to check whether the lubricating oil is evenly distributed to avoid low oil level or oil pump failure.
Gradually load: At the beginning, the load should be gradually added to observe the operation of the reducer. If the reducer has abnormal sounds, overheating or other faults, it should be stopped immediately for inspection and troubleshooting.
Operation temperature check: Monitor the temperature of the reducer during operation to ensure that the temperature is within the normal range. If the temperature is too high, it may be caused by poor lubrication, overload or high ambient temperature, which needs to be solved in time.
Noise and vibration detection
Noise detection: During operation, if abnormal noise occurs, check whether the gears, bearings and other components in the reducer are worn or loose.
Vibration detection: Check whether the reducer and motor are correctly aligned to avoid excessive vibration caused by eccentric loads. Excessive vibration may cause damage to internal components and shorten service life.
Check the safety of the installation
Protective cover inspection: If the reducer is equipped with a protective cover or safety cover, ensure that it is firmly installed to prevent dust, debris, etc. from entering the reducer and affecting the normal operation of the reducer.
Electrical wiring: If the reducer is connected to the motor, it is necessary to check whether the electrical wiring is firm to ensure the normal operation of the electrical system.
Regular inspection and maintenance
Regular maintenance: Regularly check the working status of the reducer, including the condition of the lubricating oil, the wear of the bearings, and whether there are cracks in the reducer housing.
Replace loss parts: If problems are found in loss parts such as seals and bearings, they should be replaced in time to avoid adverse effects on the performance of the reducer.
Through the above installation and debugging steps, it can be ensured that the RV worm gear reducer can operate efficiently and stably at work, extend its service life, and reduce the occurrence of failures.
